|
|
Ice Cream Truck |
||
|---|---|---|---|
|
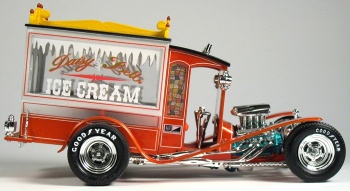
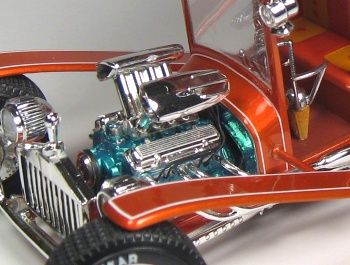
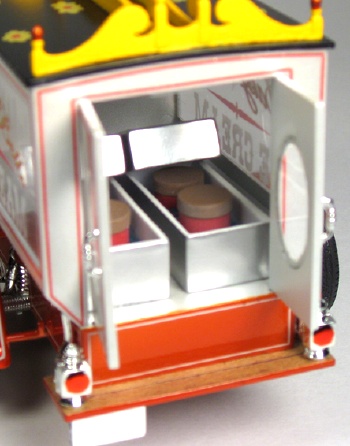
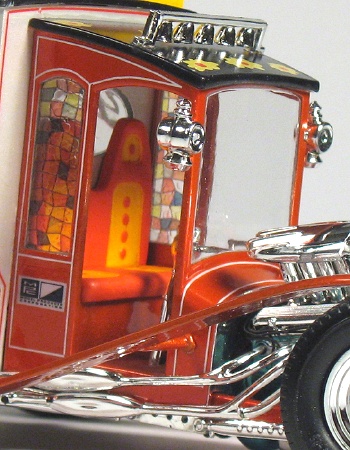
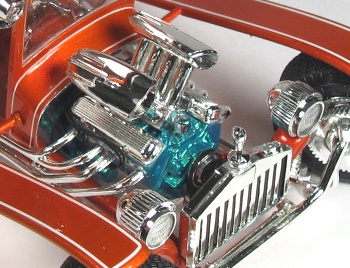
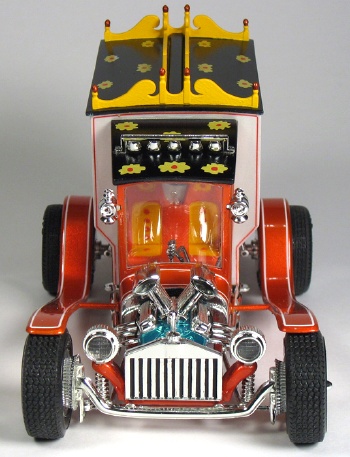
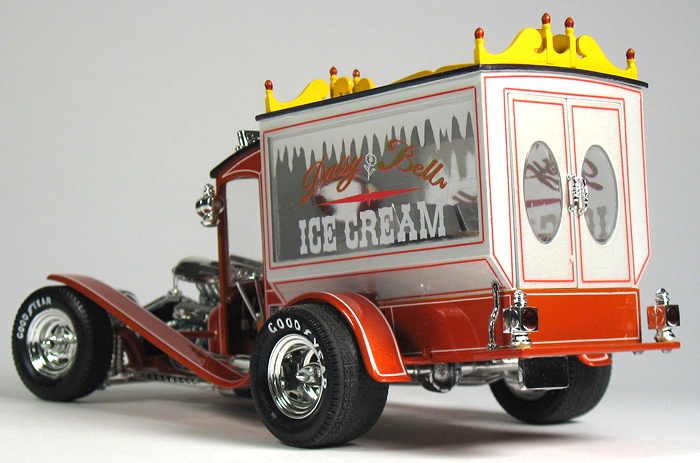
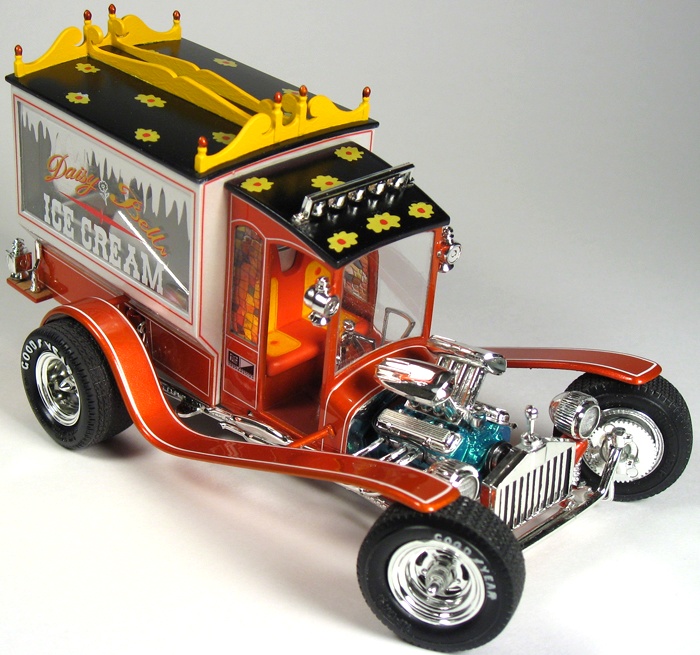
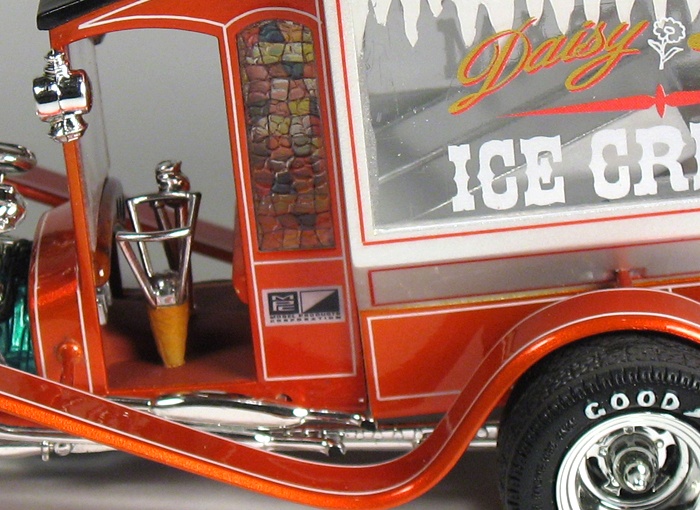
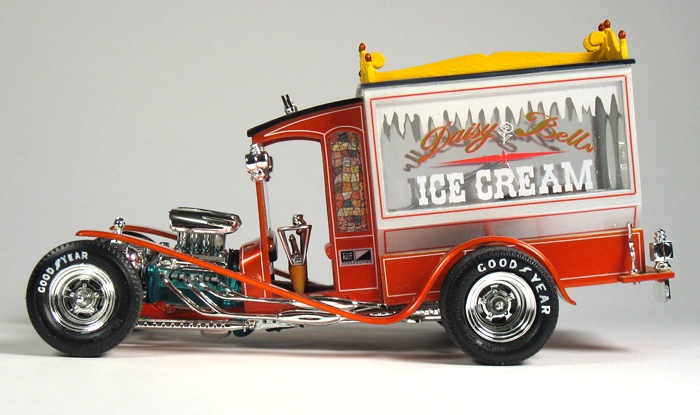
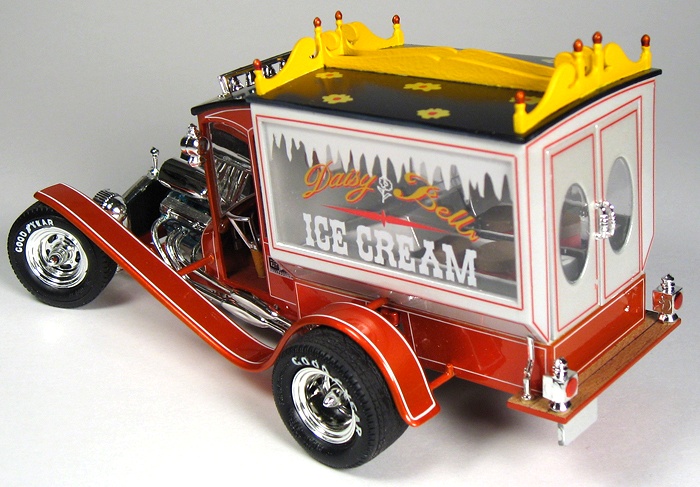
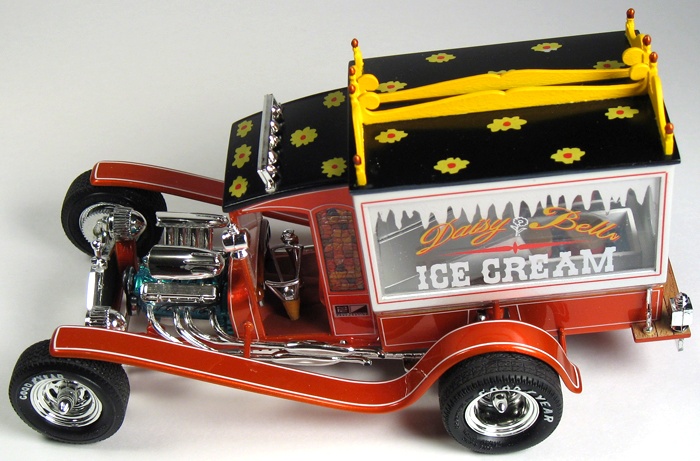
Built by: Tory Mucaro in Howell Township, New Jersey This is one of those models that falls into the category of “I attempted to build it as a kid, but wasn’t quite up to it, so I’m having another go at it as an adult”. It joins the ranks of The Undertaker Dragster in my Show Rod collection. The kit I used for this build is the AMT ERTL “Fast Eddie’s Ice Cream” re-issue of the old MPC kit. I picked this up several years ago knowing that Slippery Arts had a reproduction of the original kit decals available. So armed with Decal Dan’s excellent decal sheet, a few photos off the internet of the actual car and the box art found here on the Show Rod Rally I set forth to build the Ice Cream Truck as it was meant to be, as George built it all those years ago. Shortly after starting construction, I realized why this model gave me so much trouble as a kid. It’s a bit of a bugger alright! I had to do some very creative re-engineering in order to have the parts breakdown appropriate for the painting. For instance the box part of the body had its part break above the color break, which would have resulted in a glaring seem running along the edge. So the box had to be assembled to the body prior to painting and then masked for the color break. Also, there is a definite side panel above and below the box side windows that is not represented in the kit. So I added these panels with .060 x .125” styrene strip, and removed the same amount of material from the clear window insert. Also, the box roof is designed to hold the sides together, but this would have made painting the inside very difficult, so once again I had to remove the side pieces that were molded as part of the roof from the roof and add them to the box body. Another aspect of the kit that needed changing is that all of the pin striping is represented as raised in-molded detail, which would have made adding the pin striping decaling very difficult. So I carefully filed and sanded all of this detail off. Once all of the re-engineering was finished and most of the sub-assembling was done it was time to start painting this little beastie. I started by painting the box part of the body HOK Snow White Pearl. This was masked off and everything else was painted with a base coat of HOK Solar Gold, followed with a top coat of HOK Kandy Persimmon. Then all of the decals were applied. The pin striping is from various decal sheets, the fine white stripes were from a Microscale sheet for “N” gauge locomotives, the heavier white stripes (on the fenders) were from a Yellow Wings aircraft sheet and the red-orange stripes were printed out from some artwork I created on my computer onto some clear decal stock from Micro-Mark. Applying all of those pin stripes took quite a bit of time and really tested my dedication to the project, but in the end I think it really gives the model that something extra. I also added the MPC logos which were in fact present on the 1:1 vehicle. The engine was painted with Wet-N-Wild brand “Caribbean Frost” nail polish to match the box top illustration (I was unable to confirm the actual car’s engine was this color, but I liked the way it looked in the artwork and went with it). When all of these parts were completely dry, I over coated them with clear two part urethane gloss for that slick, wet look. The roofs were painted gloss black and the flower decals added. Incidentally, the decal sheet which I’m certain Dan copied exactly from the original kit decals does not include enough flowers, so I used some from a second sheet to match my photo references. The roofs were then sprayed with semi-flat clear to give the appearance of the vinyl type roof material used o the actual thing. The cab side stained glass window decals, also copied from the original sheet were not even close to what was on the real car. So I found a stained glass pattern on the internet, copied it and edited it in Photoshop, and then printed it on clear decal stock to match closer the stained glass used on the real thing. The rest of the parts were painted with various colors to match my references. Then I carefully assembled everything deviating quite a bit from the kit instructions to better suit my building needs. The subject of building models of show rods came up recently on another discussion forum with the pros and cons of their validity within the model car hobby. I’d like to state right here that I have built nearly every type of model car and can say without any hesitation the show rods are the ultimate test of a model car builder’s abilities. Every aspect of building ability comes into play, tough part fit, scarce references, super high gloss paint finishes that are usually combined with tricky paint jobs, and tons of plated parts with all the trouble they bring. No sir, show rod building is most definitely NOT for the faint of heart! In the end, I was quite please with the result. It isn’t 100% true to the original (the tires for instance should be Firestone and not Good Year) but I tried to keep it as close as possible. And now another childhood memory resides proudly in my built up show rod collection! |
|
||
|
|
|||
