|
|
Pie Wagon | ||
|---|---|---|---|
|
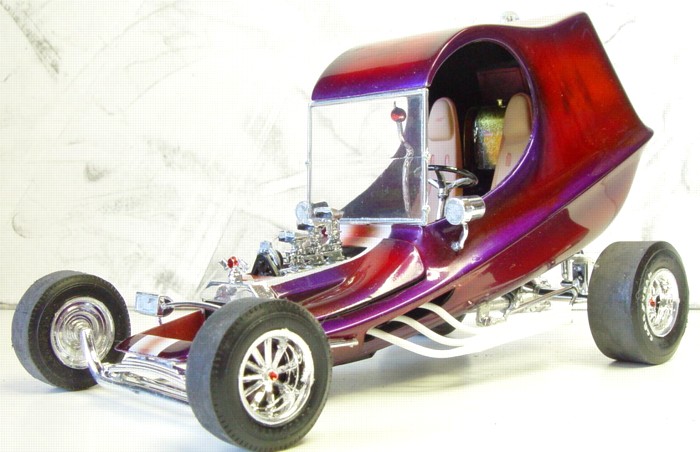
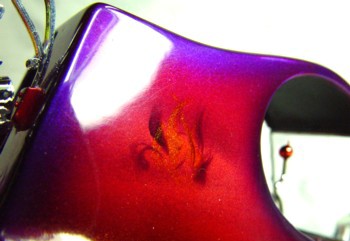
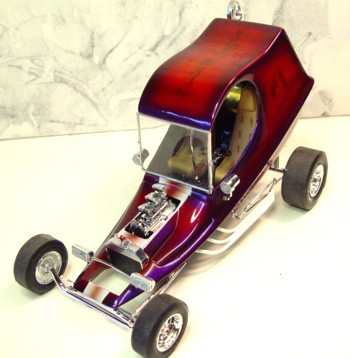
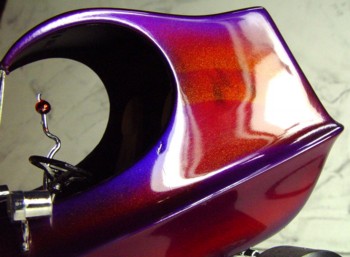
Built by: Paul Burke in Cotati, California Someone posted a question on the Coffin Corner, "How do you get the seam out of the Pie Wagon and do the interior at the same time This got me thinking, so I pulled down one of my many KB Toy Outlet $4.99 Pie Wagons and checked it out. It was really very simple. First I painted the interior, seats , bucket, pie box, roof and walls. Next I glued the bucket to the bottom half, and the pie box to the bucket. The seats and gas tank will go in after the car is painted. Next I used low tack masking tape and taped out the rear door hatch and the C door openings and front window opening from the inside of the top half of the body, then glued the two halves together using Zap A Gap super glue. I rub a little baking powder over the seam while the glue is still setting up. This ensures a good bond and fills any little cracks in the seam. I used 400, 600 and 1000 grit to smooth it out and primer was applied. Once everything looked good, I shot a base coat of peach lacquer followed by a few coats of alabaster pearl over that. Next I fogged the edges with a violet pearl then edged it with deep lilac. I used stencils for the graphics on the side and roof, then candy apple red over the whole thing and clear coated the crap out of it. I let it set for a day, then polished it out. Once that was complete, I punched out the tape from the interior and glued in the tank, seats, gear shift and steering wheel in that order. The car is built box stock other wise and took me three days total to build. Super glue and lacquer paints were made for guys like me, with little or no patience. |
|
||
 |
|||


